
A Day in the Field: From Reality Capture to Revit Model
Ever wondered what happens after a scanning team visits your site? Here’s what a full Scan to BIM workflow looks like from start to finish.
Step 1: On-site Capture
Our team visits your site with the NavVis VLX 3, completing a full scan of the building. Because the scanner is wearable, we can move quickly and capture tight or inaccessible spaces — often completing a building in a few hours.

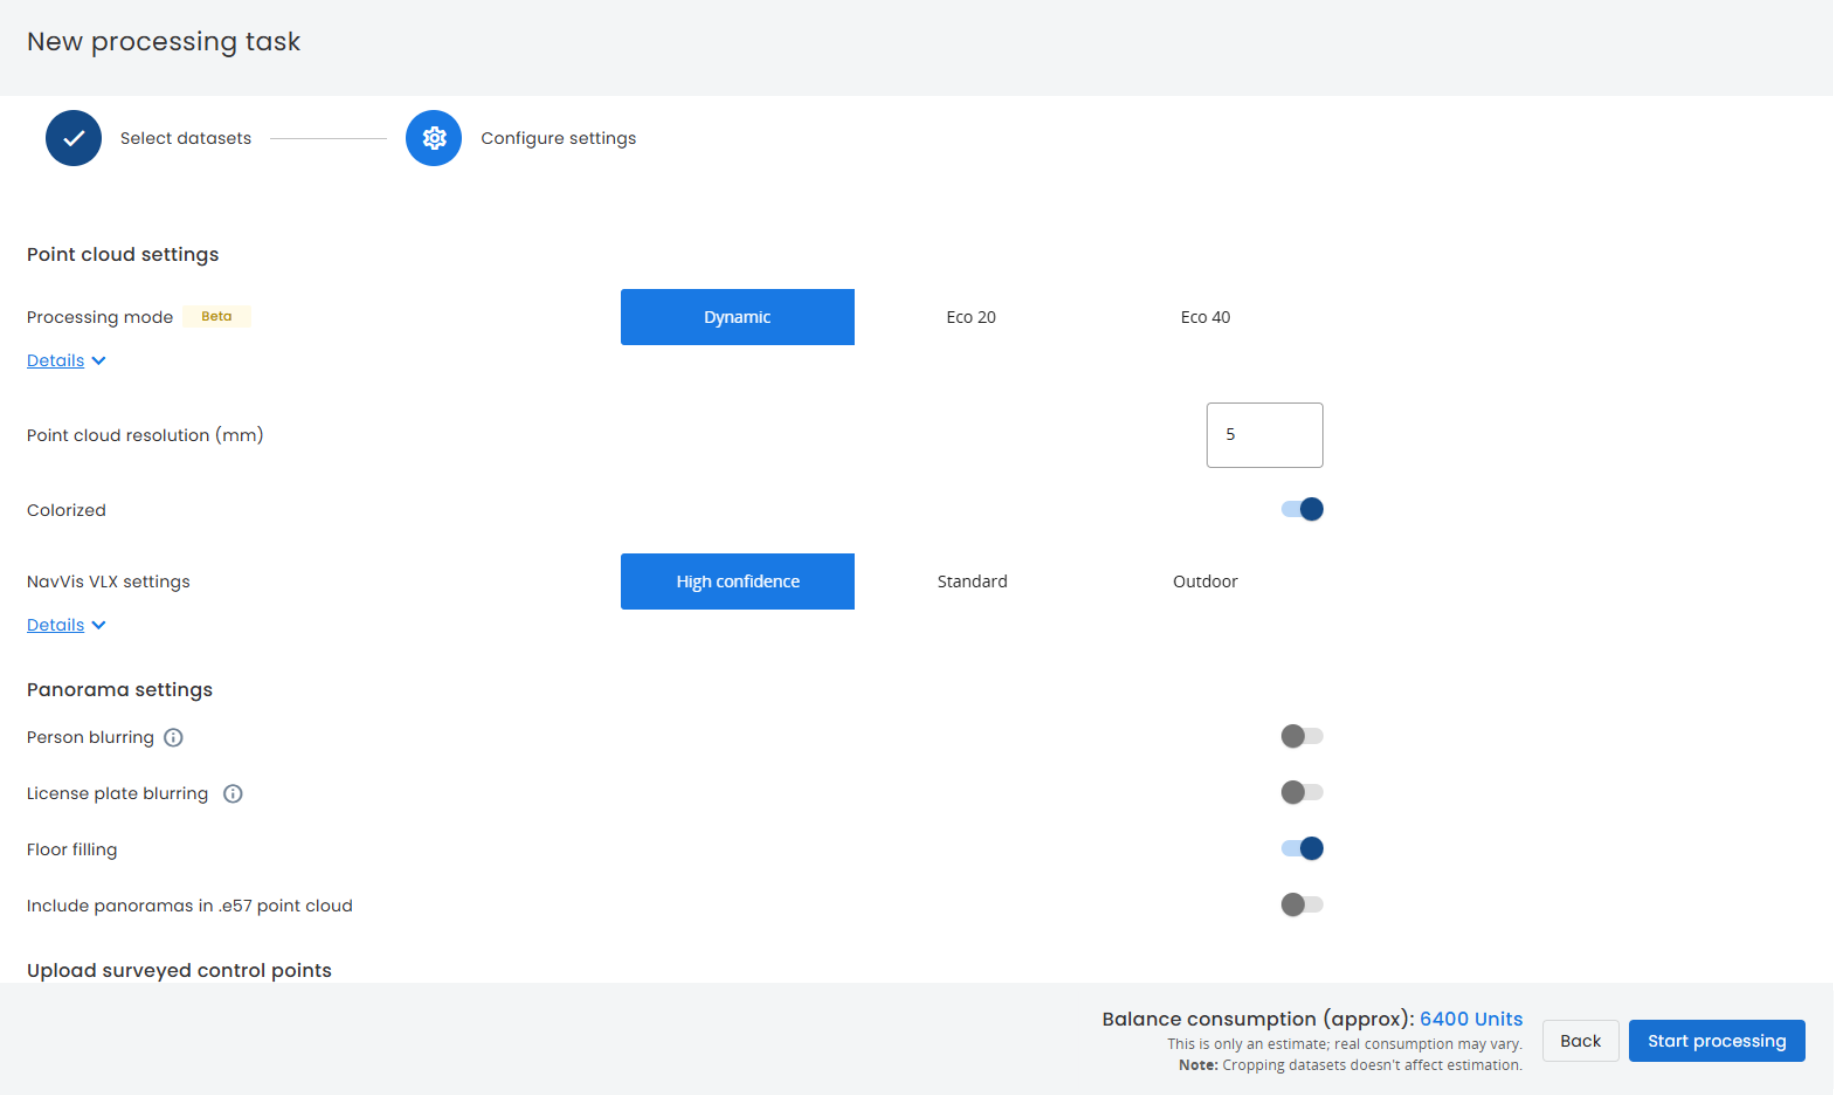
Step 2: Data Processing
Back in the office, the raw point cloud is cleaned, aligned and geo-referenced. Any unnecessary data is removed, and we ensure the final dataset is accurate and complete before modelling begins.
Step 3: BIM Modelling
Our technicians use the processed data to create a digital model in Revit. Typically, this includes:
Internal and external walls
Windows and doors
Stairs
Exposed Structural elements
M&E placements (if requested)

Step 4: Quality Check and Delivery
We quality check the model and export 2D floor plans, elevations, and 3D files to your specifications. Final outputs are shared securely via cloud or direct transfer, ready for your design, compliance, or asset management teams.

Real-World Benefits
Faster turnaround – most projects delivered in under a month
Fewer return visits – all data is captured first time
Higher accuracy – supports design, retrofit, and safety planning
Contact Mark Humphreys or visit our scanning and digital recording services page to discover how Airey Miller can support your project.